
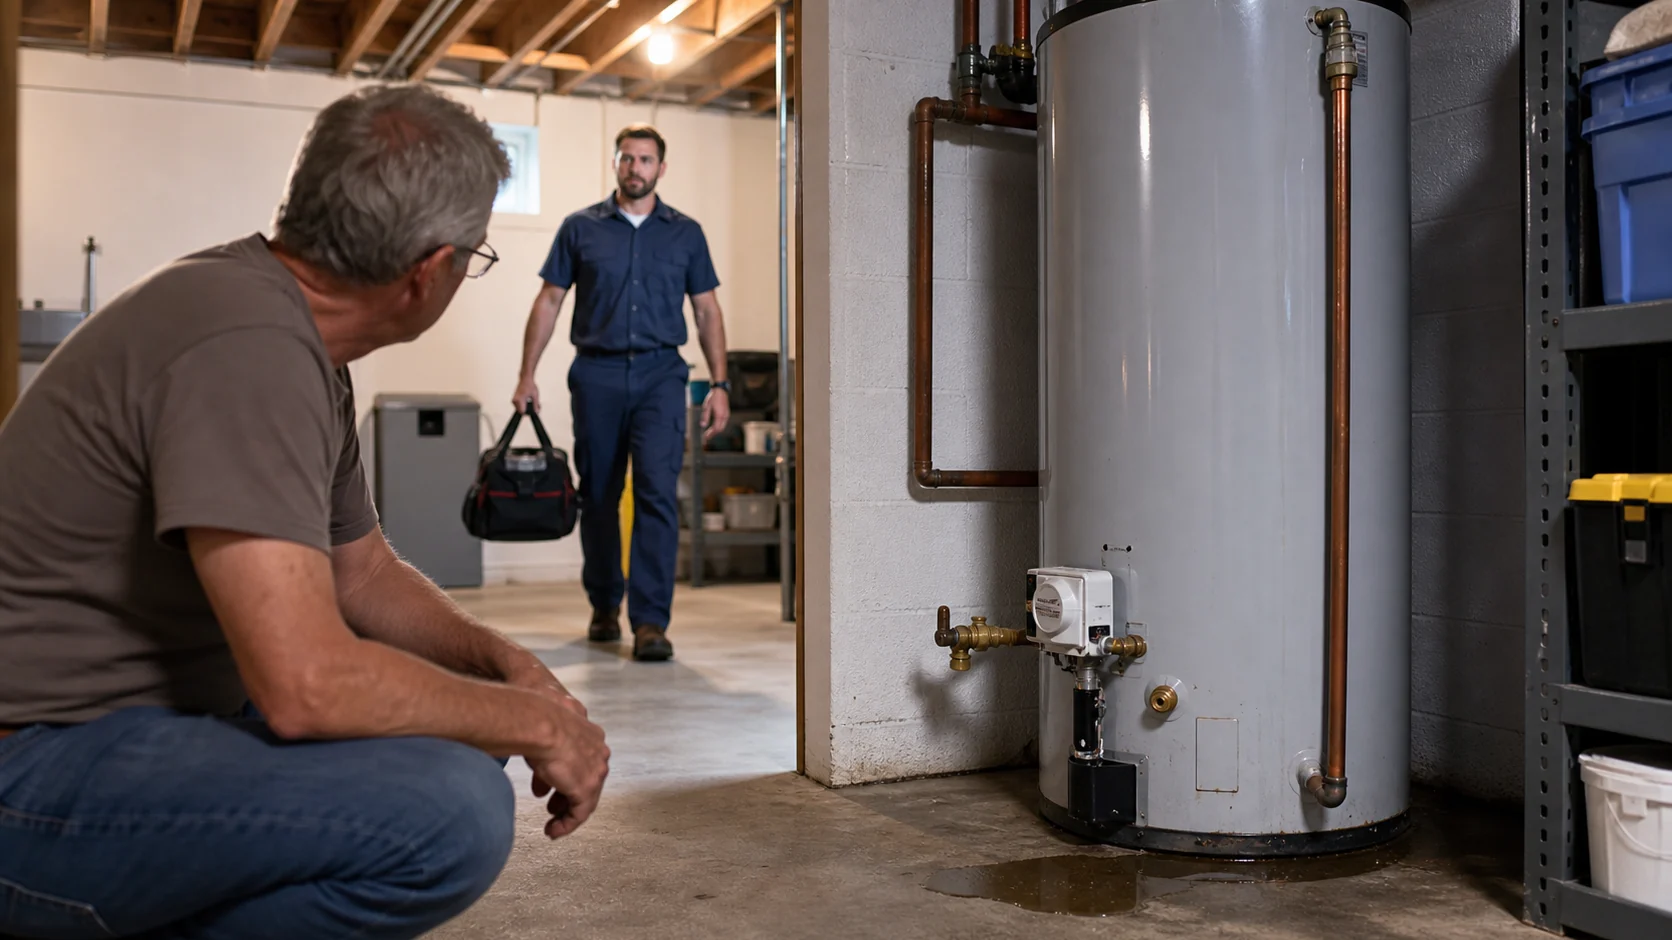
A failed water heater can leave you handling three jobs at once: stopping more water, finding a replacement, and figuring out whether to contact your insurer. The paperwork is easier if you start a single timeline while the scene is still fresh.
This guide is about documentation, not a promise of coverage. Water-damage coverage depends on the cause, your policy, exclusions, endorsements, deductible, maintenance history, and the insurer's investigation. Ask your insurance company what it needs before authorizing permanent repairs when safety and further damage do not require immediate action.
Safety comes before photographs
Stay out of standing water near electrical equipment. Do not touch a wet breaker panel, receptacle, gas control, burner compartment, plug, or heater wiring. If you smell gas, hear hissing, see smoke, or have a carbon monoxide alarm, leave the unsafe area and contact the gas utility, fire department, or emergency services as appropriate. A heater or electrical equipment exposed to water needs qualified inspection before reuse.
Start a one-page incident timeline
Open a note on your phone or use paper. Record when you first saw the leak, who found it, what was wet, whether water was still flowing, and every call or visit that followed. Use exact times when you know them. If you only know that the leak started sometime overnight, say that rather than guessing.
- Date and time the leak was discovered.
- Where water first appeared and the rooms or materials it reached.
- Any sound, odor, alarm, error code, power loss, or hot-water symptom noticed beforehand.
- When the water stopped and who shut it off.
- Names, company names, phone numbers, claim number, and a short note for each call.
- When extraction, drying, plumbing, electrical, or restoration work began.
Do not decide the technical cause yourself. Write what you saw: "water running from the lower seam" is more useful than "the pressure valve made the tank explode." Let the plumber, restoration company, and adjuster document their findings.
Take the wide photos before the close-ups
Start at the doorway so the viewer can understand the room. Then photograph each wet path and damaged material. Avoid stepping into water or moving the heater for a better angle.
- The full utility room from two safe viewpoints.
- The heater, nearby pipes, drain pan, floor drain, and visible water path in one frame.
- Each affected wall, baseboard, cabinet, floor, ceiling below, or stored item.
- The exact point where water appears to leave the heater or connected piping, without touching it.
- The rating plate with manufacturer, model, serial number, fuel, capacity, and electrical data readable.
- Any status light, display code, rust, split fitting, wet connector, relief discharge, or drain-valve drip.
- Temporary protection and the same areas again after water extraction or removal.
Keep the original files. Sending compressed copies by text is fine, but save the full-resolution photos and videos in a folder named with the incident date. If a damaged floor or wall continues into another room, take overlapping photos that show the full path.
Call the insurer with facts, not a finished theory
The Utah Insurance Department advises homeowners to contact the insurance company or agent promptly, take photos or video, make temporary repairs needed to prevent more damage, and save receipts. Have the policy number, property address, discovery time, affected rooms, immediate safety work, and current contact information ready.
Ask for the claim number and the name or team handling it. Then ask these practical questions:
- What photographs, videos, inventories, reports, and estimates do you want?
- Should the failed heater or removed parts be retained for inspection, and for how long?
- What temporary work can proceed now to dry the building and prevent more damage?
- Does the insurer have requirements before permanent plumbing or reconstruction work begins?
- How should emergency invoices, damaged belongings, and additional living expenses be submitted?
- What deductible and policy provisions apply to this reported loss?
Write down the answer and the time of the call. Coverage staff may need more evidence before answering every question, so separate "received" from "approved" in your notes.
Do not let documentation delay drying or urgent repairs
Take reasonable photos first when it is safe, then prevent more damage. You do not need to leave water soaking into drywall while waiting for an adjuster. Save receipts for extraction, fans or dehumidification arranged by a professional, emergency plumbing, temporary protection, storage, and other loss-related costs.
Before a contractor removes the heater or opens a wall, ask for photos and a written description of what they found. If something must be discarded because it is unsafe or contaminated, photograph it, record the reason, and ask the insurer whether a label, component, or material sample should be retained.
Read contracts before signing. Pay attention to any assignment of benefits, direction-to-pay language, financing, cancellation terms, and permission for extra work. The National Association of Insurance Commissioners warns that an assignment of benefits can transfer policy rights to a third party. Ask the insurer or an appropriate adviser about language you do not understand.
Keep the heater claim separate from the replacement quote
A service report explains the observed failure and emergency work. A replacement quote explains what a new installation includes. Ask for both in writing rather than accepting one total with no model or scope.
The replacement quote should identify the exact model, size, fuel, efficiency, permit and inspection responsibility, code-related work, drain pan and discharge routing, haul-away, warranties, and any restoration excluded from the price. Use the Utah water heater quote checklist to compare bids on the same scope.
If the leak reached the gas control, wiring, burner area, or nearby electrical equipment, use the water-damaged heater safety guide. For an active leak that is still spreading, start with the emergency leaking water heater steps.
Build one folder before the first day ends
- 01 timeline: discovery, calls, visits, drying checks, and decisions.
- 02 photos and video: original files, sorted by room or area.
- 03 policy and claim: policy, claim number, adjuster messages, and requested forms.
- 04 invoices and receipts: emergency work, temporary repairs, lodging or storage when applicable.
- 05 estimates and reports: plumber, mitigation, electrical, restoration, and replacement documents.
- 06 damaged items: inventory, purchase records, and before-loss photos when available.
Keep copies of anything you submit. A clean record helps even when the loss stays below the deductible, because it preserves the heater history, repair findings, and replacement documents for a warranty question or future home sale.
Sources and further reading
- Utah Insurance Department: home claims information - Utah consumer guidance on reporting a claim, documenting damage, temporary repairs, and receipts.
- Utah Insurance Department: disaster preparedness - recordkeeping, contractor precautions, and insurance assistance resources.
- NAIC: read the fine print before signing away insurance benefits - documentation, mitigation, receipts, adjusters, and assignment-of-benefits cautions.
- FEMA: document damage before cleanup - photo, appliance-label, receipt, and damaged-item guidance. This page addresses disaster cleanup, but its documentation steps are useful for a major appliance leak too.
Need a written water heater service or replacement scope?
Send your Utah city, whether the leak is active, the heater type and age if known, where the water traveled, and whether an insurer or restoration company is involved. Keep emergency and insurance calls moving when water is still spreading.
Request water heater help