
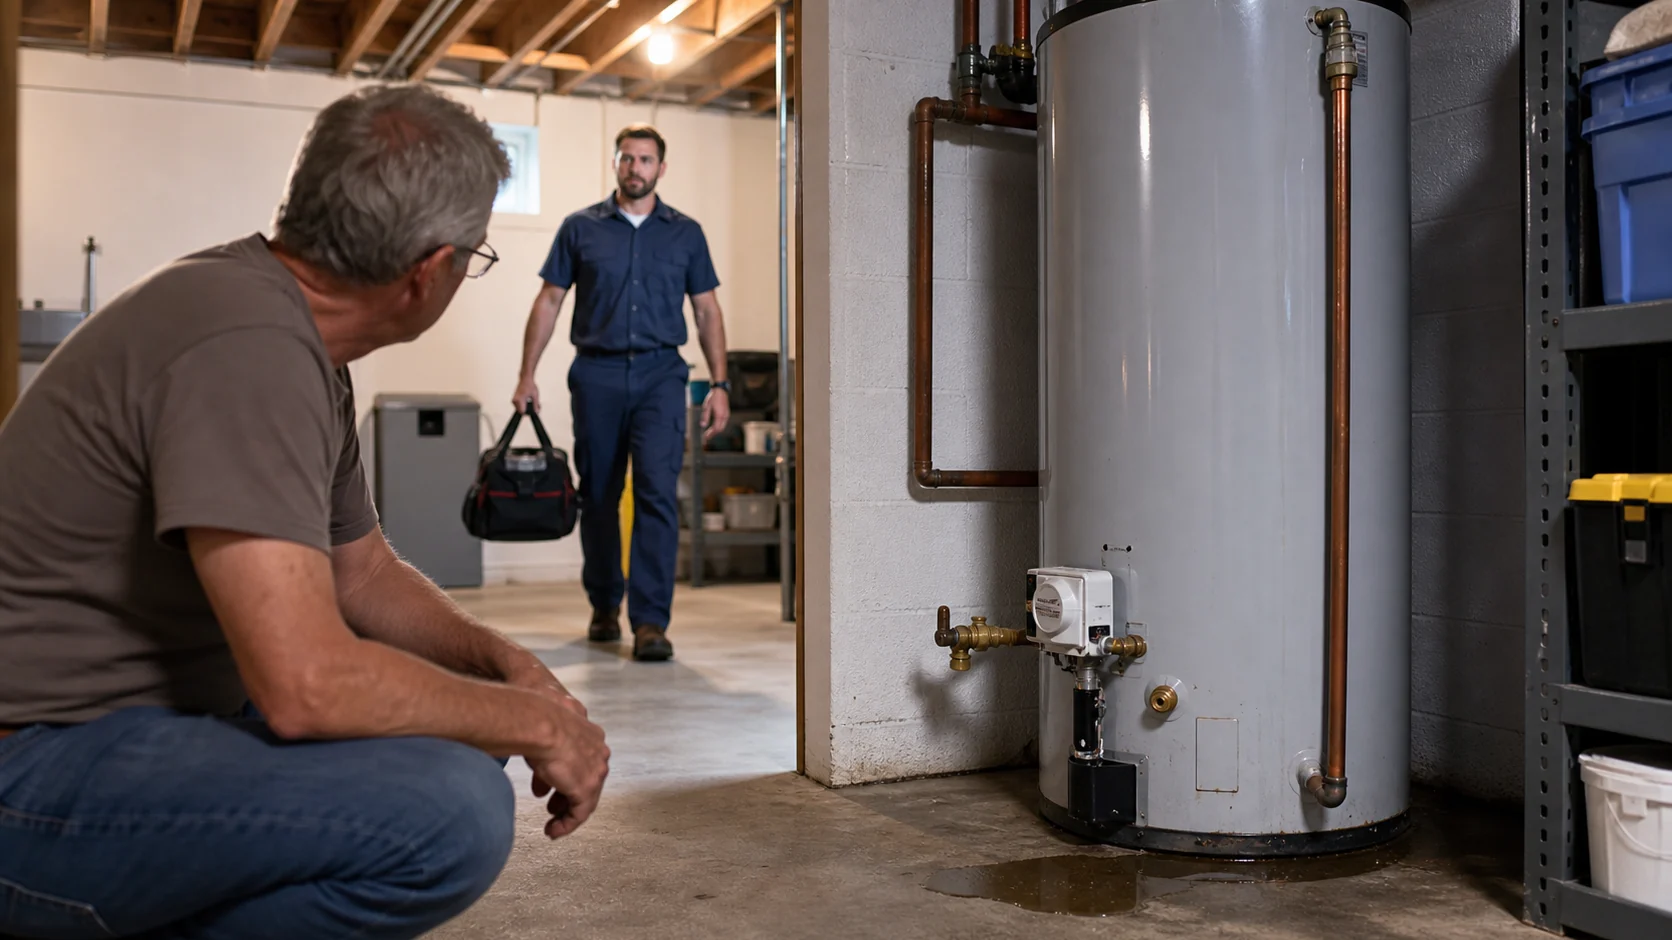
Water collects at the lowest point, so a puddle under the heater does not prove the bottom of the tank is leaking. A slow drip at the top can run down the jacket. Condensate, a relief line, a drain valve, or another appliance can also wet the same floor. Still, water appearing at the lower seam of a storage tank deserves prompt attention.
Move quickly if water is spreading
Keep people away from wet electrical equipment. Do not stand in water to reach a breaker, gas control, or shutoff. Leave the area and call the gas utility or emergency services if you smell gas. If the leak is reaching wiring, a finished floor, or a ceiling below, request urgent help rather than waiting to see whether it stops.
First, protect the room
Move cardboard boxes, rugs, cleaners, and anything else that can absorb water. Use towels or a wet vacuum only when the area is electrically safe. Put a shallow container beneath a visible drip if you can do that without touching hot pipes or controls.
Find the home's main water shutoff and the cold-water valve serving the heater. A stiff, corroded, unlabeled, or unreachable valve is not something to force during a leak. If you are unsure which valve is safe to operate, call for help and be ready to use the main shutoff if water starts moving faster.
Trace the water from high to low
Dry the outside of the tank and the floor, then inspect with a flashlight. Do not remove burner panels or electrical covers. Start above the heater and work downward.
- Look at the hot and cold pipe connections on top. A small leak there can travel down the tank jacket.
- Check the relief valve and its discharge pipe. Do not cap, plug, or reduce that pipe.
- Look for water from a furnace condensate line, humidifier, softener, washing machine, floor drain, or pipe above the heater.
- Inspect the drain valve near the bottom of a tank. Note whether water is forming at the valve opening, around its base, or somewhere behind it.
- Check the drain pan. Water entering on one side may pool at the opposite edge, especially if the floor is not level.
- Look at the lower metal seam. A wet trail emerging from behind the outer jacket or insulation is more concerning than a drip with a clear replaceable source.
A strip of dry paper towel held near, but not on, each safe-to-reach area can make a slow wet path easier to see. Never reach behind a hot vent, burner opening, exposed wire, or energized component.
When the tank itself may have failed
Storage tanks hold water behind the outer metal jacket and insulation. Once the inner tank leaks, patching the visible jacket does not repair the pressure vessel. Replacement moves up the list when water returns soon after drying, appears from the lower seam, seeps from behind the jacket, or has no traceable valve or pipe source.
Age matters, but it does not settle the diagnosis. Photograph the model and serial label while the area is safe. Use the age and serial-number guide to gather warranty information, then compare the leak location with the repair-or-replace checklist.
Do not make these leak fixes
- Do not plug or cap a temperature and pressure relief valve or discharge pipe.
- Do not open a drain valve just to test it while the heater is leaking. Sediment or a worn valve can keep it from sealing again.
- Do not remove electrical covers, burner doors, gas controls, or vent parts to hunt for water.
- Do not apply sealant to the tank jacket and assume the pressure vessel is repaired.
- Do not relight or energize a heater that has wet controls or electrical parts until a qualified person says it is safe.
A.O. Smith's maintenance guidance notes that many service leaks come from water-supply connections and that relief-pipe drips may relate to high water pressure or thermal expansion. Those are useful clues, but the repair depends on the exact source and the heater's installation.
Utah details worth mentioning
Tell the service provider whether the heater is in a finished basement, garage, closet, or utility room. In Salt Lake City, Sandy, Draper, West Jordan, South Jordan, Murray, Provo, Orem, Lehi, or American Fork, even a slow leak can damage drywall, flooring, stored belongings, or a ceiling below before the tank empties.
Also mention visible mineral crust around the drain valve or pipe fittings. Mineral deposits can mark a long-running seep, but they do not prove Utah hard water caused the leak. A provider still needs to trace the source.
What to photograph for a service request
- One wide photo showing the heater, floor, pan, pipes, vent, and nearby equipment.
- Close photos of the first wet point and the trail leading to the puddle.
- The model and serial label, without changing any control.
- The drain valve, relief valve, discharge pipe, top connections, and lower seam.
- Any water damage and the distance to a floor drain or finished area.
Include the city, fuel type, approximate age, how fast water returns after drying, and whether hot-water performance changed. If water is actively spreading, say that first.
Sources and further reading
- A.O. Smith: water heater maintenance — manufacturer guidance on leak sources, drain valves, relief-valve discharge, thermal expansion, and electrical/gas safety.
- Utah Water Heater Help: relief valve leaking guide — a closer look at relief-pipe drips and pressure warning signs.
- Utah Water Heater Help: leaking water heater emergency steps — immediate damage-control and service-request guidance.
Water returning under the tank?
Send the leak location, city, fuel type, heater age, and a few clear photos. If water is spreading or reaching electrical parts, treat the request as urgent.
Request Utah water heater help