
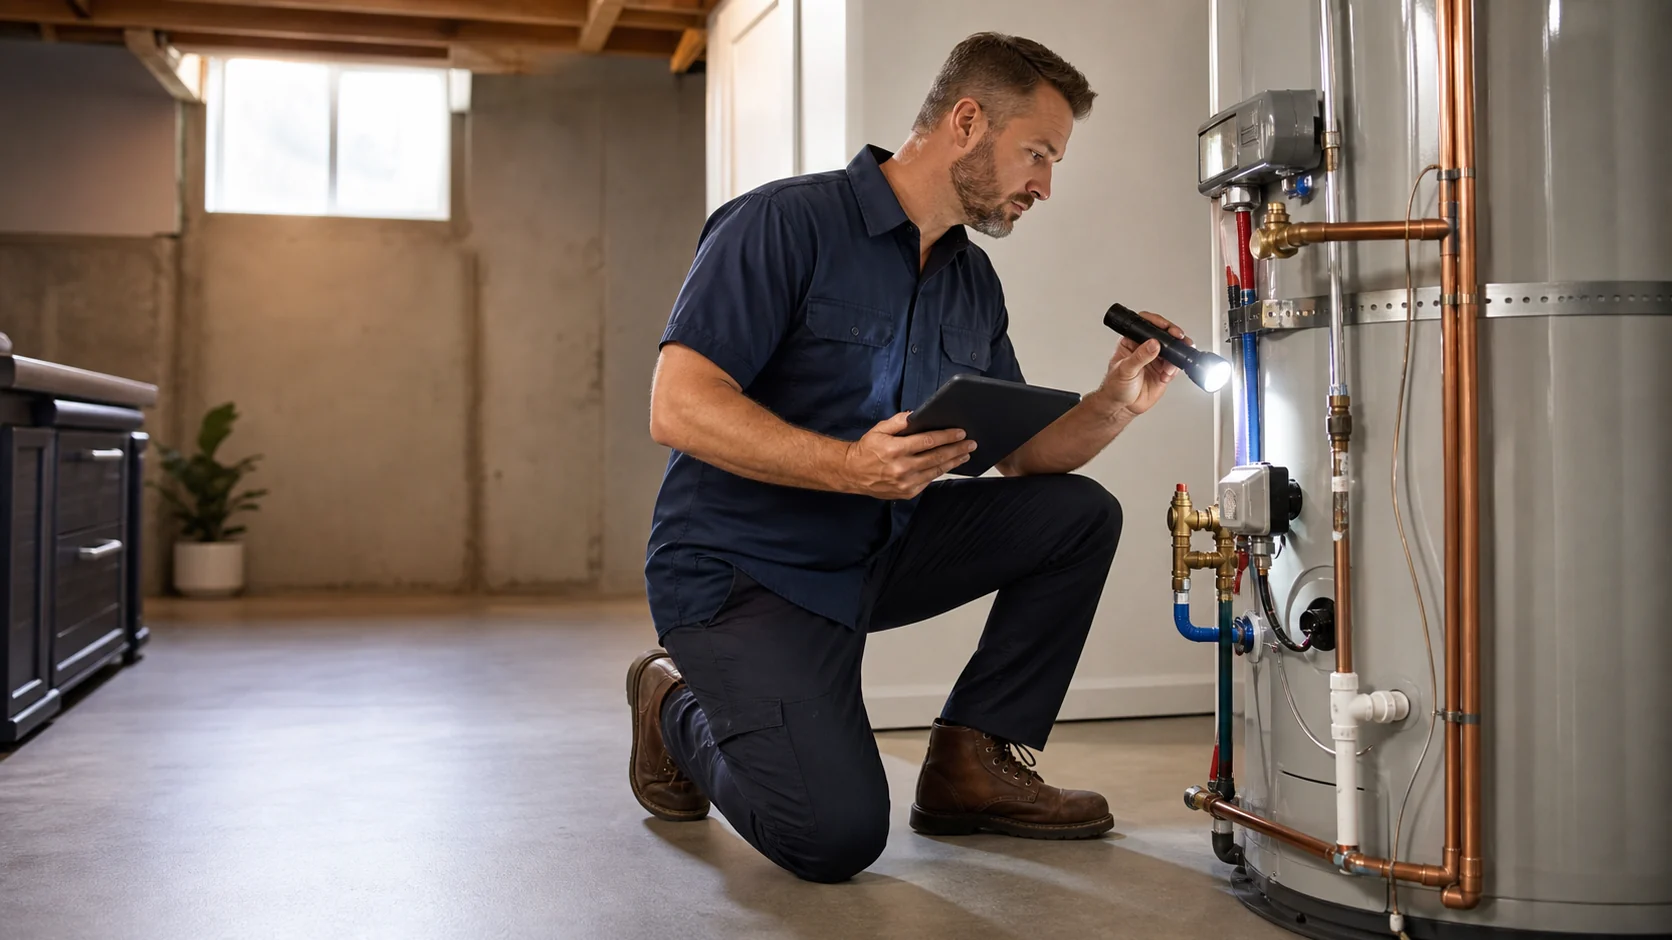
A water heater in an unfinished utility room can leak onto bare concrete and announce itself. Put the same tank beside drywall, carpet, cabinets, or stored boxes and the first clue may be a damp baseboard in the next room. Utah homeowners finishing a basement, buying a home, or planning a replacement should inspect the whole route water could take, not just the tank.
Water near electricity or a gas warning changes the job
Do not step into standing water to reach a breaker, plug, gas control, or shutoff. If you smell gas, hear hissing, or a carbon monoxide alarm sounds, leave the building and call 911 or the gas utility from outside. For an active tank leak, use the emergency leak guide and request qualified help.
Start at the floor and follow every outlet
Look for a drain pan beneath the heater. A pan is useful only if it is intact and any drain line has a real destination. Follow that line visually as far as you can without moving the heater, opening walls, or disconnecting anything. Photograph where it disappears. Ask a plumber where it terminates and whether that route is appropriate for the house.
Then find the temperature-and-pressure relief discharge pipe. It is a separate safety line and should not be confused with a pan drain, condensate hose, furnace drain, or water-softener line. Do not cap, plug, reduce, or redirect it yourself. A wet floor can come from any of these sources, so label the photos instead of guessing.
Check the six places that hide water
Put the alarm where water will reach it
A basic leak alarm can give an early warning, but placement matters more than the packaging. Set the sensor at the low point water is likely to reach without blocking service access. If the floor slopes away from the pan, a sensor beside the tank may stay dry while water travels toward finished rooms.
Automatic shutoff systems can limit damage when they detect a leak, but they need compatible valves, power, maintenance, and a plan for false alarms or power loss. Ask who will install and test the device. Keep the manufacturer's instructions with the water-heater records, and test alarms on the schedule printed in those instructions.
Make the shutoff reachable
Identify the cold-water shutoff that serves the heater and the main water shutoff for the home. Do not bury either behind shelving, a finished wall panel, or stacked storage. Put a simple label nearby and make sure another adult in the home knows the location.
Do not force a corroded, seized, leaking, or unfamiliar valve during a practice check. Photograph it and ask for service. Our water-shutoff guide explains what changes when the tank may be empty and why an electric heater must not be energized without a full tank.
Measure the replacement route before there is an emergency
Finished basements tend to shrink around mechanical equipment over time. Doors get narrower, ceilings get boxed in, and cabinets appear in the only path to the stairs. Measure the utility-room doorway and note tight turns, stair width, ceiling height, handrails, finished flooring, and anything that would have to move.
A replacement quote should say how the old tank will leave, how the new unit will enter, and who protects flooring and finished surfaces. Ask whether the proposed model, drain pan, expansion tank, venting, and service clearances fit the actual room. Never remove a structural post, gas pipe, vent, electrical equipment, or required barrier just to create a route.
Keep storage out of the service zone
Cardboard boxes and fabric can hide a small leak and slow down emergency access. Keep possessions away from the heater, shutoffs, drain, electrical panel, furnace, and gas equipment. Follow the appliance manufacturer's clearance and combustion-air instructions rather than using a generic distance.
If the mechanical room has a louvered door or air openings, do not cover them to reduce noise or make the basement look tidier. A qualified installer should decide whether a gas appliance has adequate combustion air and venting. The closet and access checklist has a photo list for cramped rooms.
A 15-minute dry-room record
- Photograph the full heater, model label, top connections, lower seam, pan, and floor.
- Photograph the cold-water shutoff and main house shutoff.
- Trace and label the pan drain, relief discharge, and nearby equipment drains.
- Note finished surfaces and the direction the floor slopes.
- Record the leak-alarm brand, sensor location, test date, and battery type if applicable.
- Measure the doorway and difficult parts of the removal route.
- Save the plumber, permit, warranty, and insurance contact details with the photos.
Repeat the visual check after plumbing work, a hard freeze, a nearby remodel, or any new stain or musty odor. EPA WaterSense also recommends watching water use for unexplained changes and checking household fixtures for leaks. A water-meter pattern can help find a hidden leak, but it cannot tell you which pipe or appliance is responsible.
Sources and further reading
- EPA WaterSense: Fix a Leak Week - household leak checks, water-use clues, and repair guidance.
- ENERGY STAR: water heaters - current equipment categories and links to product guidance.
- Utah Licensee Lookup and Verification System - official license search before hiring a plumber or contractor.
- The installation manual for the exact water-heater model and the city or county building department with jurisdiction over the address.
Planning around a finished basement?
Send your city, heater model, room photos, drain and shutoff photos, doorway measurements, and any stain or leak history. A provider can use that record to discuss leak protection, service access, or replacement scope.
Request Utah water heater help