
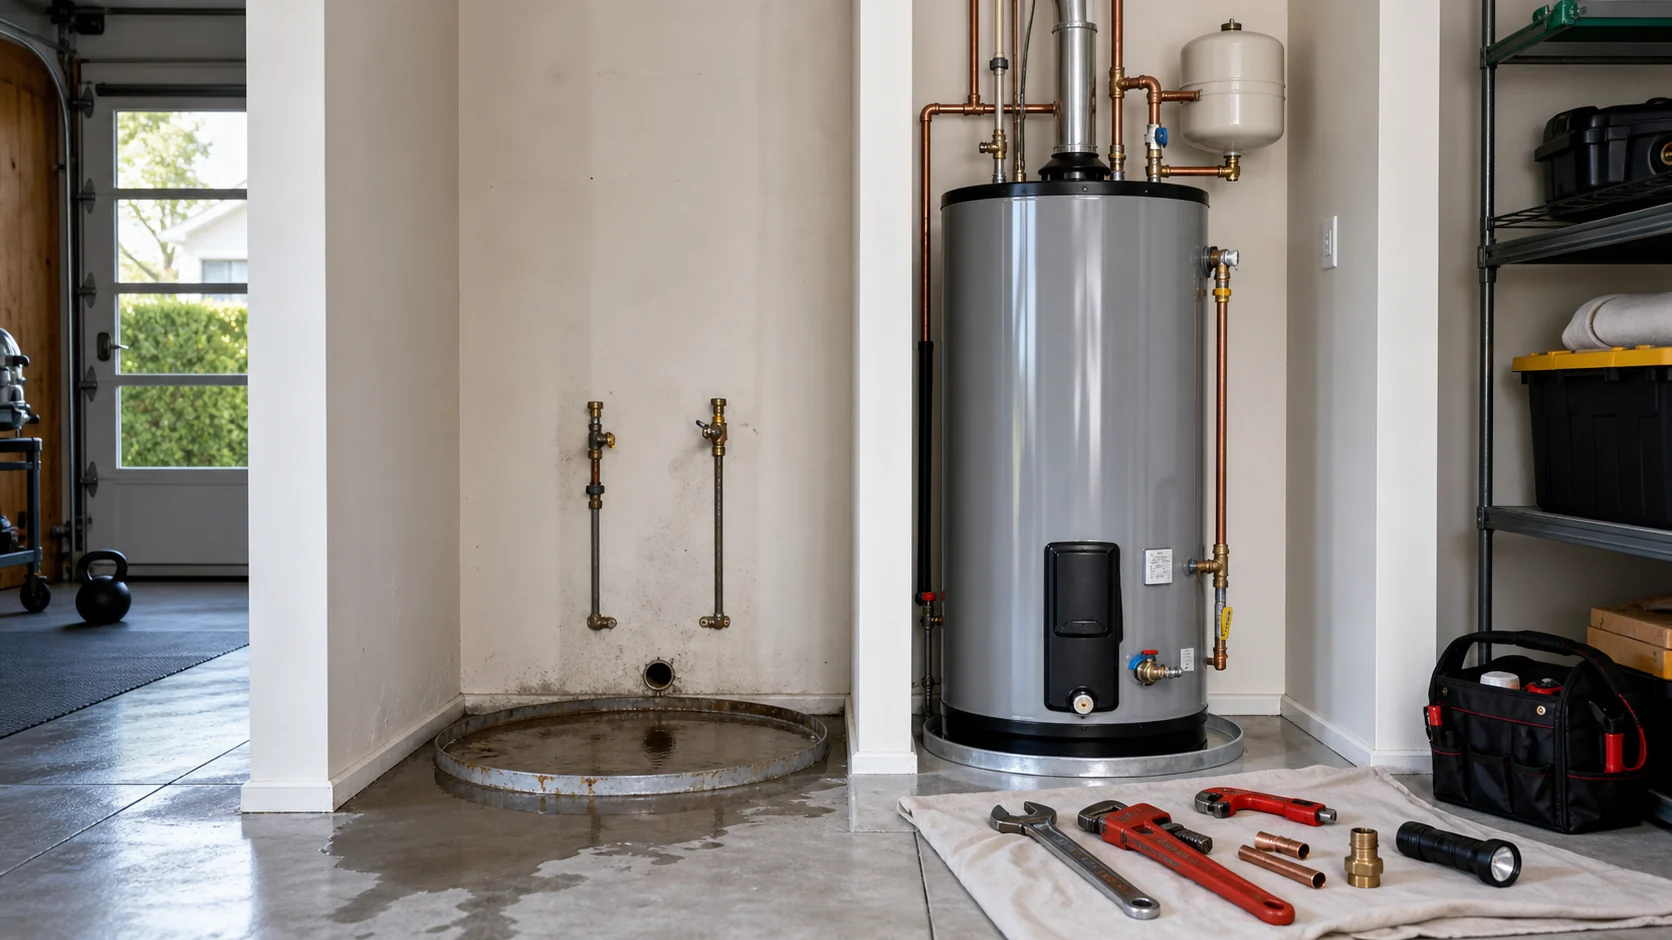
A new heater can make hot water feel like a solved problem. Usually it is. Still, take ten quiet minutes before boxes, manuals, and invoice emails disappear. You want to know what was installed, who to call, and what normal operation looks like in your home.
Deal with safety first
Leave the area and get urgent help if you smell gas, a carbon monoxide alarm sounds, water reaches electrical equipment, or hot water is spraying from a pipe or valve. Do not remove access panels, relight equipment repeatedly, cap a relief pipe, or tighten wet gas connections. For an active water leak, follow the emergency water heater steps.
Before the installer leaves
Ask for a short walk-through. The useful version is not a sales pitch. It should show you the water shutoff, the gas shutoff or electrical disconnect, the temperature control, any vacation or operating modes, and the first contact for a warranty or installation problem.
Save before they go
- • Final invoice and written scope
- • Full model and serial number
- • Installation date
- • Manufacturer manual and warranty
- • Installer or company contact
- • Permit or inspection details, if required
Ask them to point out
- • Main cold-water shutoff for the heater
- • Gas shutoff or electrical disconnect
- • Temperature control
- • Drain pan and where its line ends
- • Relief-valve discharge pipe
- • Filter or maintenance points on a tankless unit
Take one clear photo of the rating plate and one wide photo of the finished installation. Add them to the same folder as the invoice. Model numbers are easy to misread later, especially after the label gets dusty or access becomes crowded.
Match the finished job to the quote
Compare the invoice with the written quote while both are easy to find. Confirm the model, capacity, fuel type, warranty term, and any promised extras. Look for the items that changed the price: removal of the old unit, permit fees, drain pan, expansion tank, vent changes, electrical work, recirculation controls, leak alarm, or water treatment.
If the model changed, ask why and get the final model in writing. A similar brand name does not prove that capacity, first hour rating, efficiency, vent type, controls, and warranty stayed the same. The Utah quote comparison guide has a fuller line-by-line checklist.
Confirm permits and credentials without making assumptions
Permit and inspection requirements differ by city and by the work performed. A straightforward replacement and a fuel conversion may not follow the same path. Ask who determined the local requirement, who obtained any required permit, and whether a final inspection still needs to happen. Keep the permit number or inspection record with the invoice.
Utah's Division of Professional Licensing provides an official license lookup. Search the name and license information you were given, and ask the provider to explain which licensed trade or contractor covered the work. A website logo, truck graphic, or marketplace profile is not a substitute for the state record.
Do a no-tools visual check
You are not trying to perform an inspection or second-guess work hidden inside the unit. Stand back and look for simple conditions that deserve a question.
- Dry connections: Look around visible pipe joints, valves, the top of a tank, the drain valve, and the floor. A fresh drip is easier to trace before it runs across dusty concrete.
- Clear relief discharge: The temperature and pressure relief line should not be capped or plugged. Do not operate the valve just to test new work unless the manufacturer or qualified installer directs the procedure.
- Stable, clear area: The heater should not wobble, lean, or serve as a shelf. Keep paint, gasoline, solvents, paper goods, and storage away from fuel-burning equipment.
- Visible vent concerns: On a fuel-fired heater, report a loose-looking vent, a separated joint, soot, melting, scorching, or exhaust odor. Do not tape, reshape, or reconnect vent parts yourself.
- Drain path: If there is a drain pan, ask where the line goes and whether the termination can be checked. A pan with no useful drain path may only delay damage.
- Service access: Controls, labels, shutoffs, filters, and access panels should not disappear behind boxes or shelving.
Garage and closet installations have extra concerns around storage, combustion air, vehicles, and access. Use the garage safety checklist or the water heater closet guide for the room you have.
Check hot water at the tap, not by guessing at the dial
Give the heater the startup time stated by the installer or manual. Then check several fixtures. Note whether the water becomes hot, whether temperature stays reasonably steady, and whether the hot side has normal pressure. A tank may need time to heat a full volume. A tankless unit may behave differently at a very low-flow faucet than it does at a shower.
Control markings are not always the same as the temperature at the tap. About 120°F is a common homeowner checkpoint, but the right setup depends on the appliance, household, plumbing system, and health considerations. Homes with young children, older adults, or anyone with reduced sensation need special care around scald risk. Do not open electrical panels or change gas controls beyond ordinary instructions in the manual. Ask the installer if the measured temperature is too hot, too cool, or unstable. The temperature and scald-prevention guide explains the tradeoffs in more detail.
If hot water runs out sooner than expected, use the not enough hot water guide. If the wait is long but the water is hot when it arrives, the issue may be the delivery path rather than heater capacity; see the slow hot-water guide.
Watch the installation for one week
New connections can look dry at handoff and show a small seep after several heat cycles. Check the area later that day, the next morning, and again near the end of the week. Use a flashlight, but do not reach into burner compartments or remove covers.
Put future maintenance on the calendar now
Use the installed model's manual, not a generic online schedule. Tank flushing, tankless descaling, inlet-filter cleaning, anode inspection, condensate care, and heat pump air-filter service vary by design and water conditions. Utah hard water can make mineral buildup a bigger part of the conversation, but aggressive DIY flushing on an older or poorly understood system can create a leak rather than prevent one.
Write down the first recommended service date and what the warranty requires. Keep service receipts. Registration may be useful or required for some warranty terms, but read the actual warranty before sending personal information or paying for an extra plan. Our hard water and sediment guide explains why one maintenance answer does not fit every Utah home.
A simple closeout record
- □ Manufacturer, model, serial number, and fuel type saved
- □ Invoice, scope, warranty, and manual saved together
- □ Permit and inspection status confirmed for the city and job
- □ Water shutoff and gas shutoff or disconnect identified
- □ Finished installation and rating plate photographed
- □ Hot-water temperature and pressure checked at fixtures
- □ Visible connections and floor checked after several heat cycles
- □ First maintenance date placed on the calendar
- □ Installer's service contact saved
Sources and further reading
Use the manual and warranty for the exact installed model as the first source for operation and maintenance. These public resources help with state license verification, scald prevention, and efficient equipment research.
- Utah Division of Professional Licensing: license lookup and verification
- U.S. Consumer Product Safety Commission: avoiding tap-water scalds
- ENERGY STAR: heat pump water heater buying and operating information
Does the new installation already have a problem?
Send your Utah city, model number, installation date, and a clear description of the leak, temperature issue, sound, or error code. Include photos after contact if the area is safe to approach.
Request water heater help